Introduction:
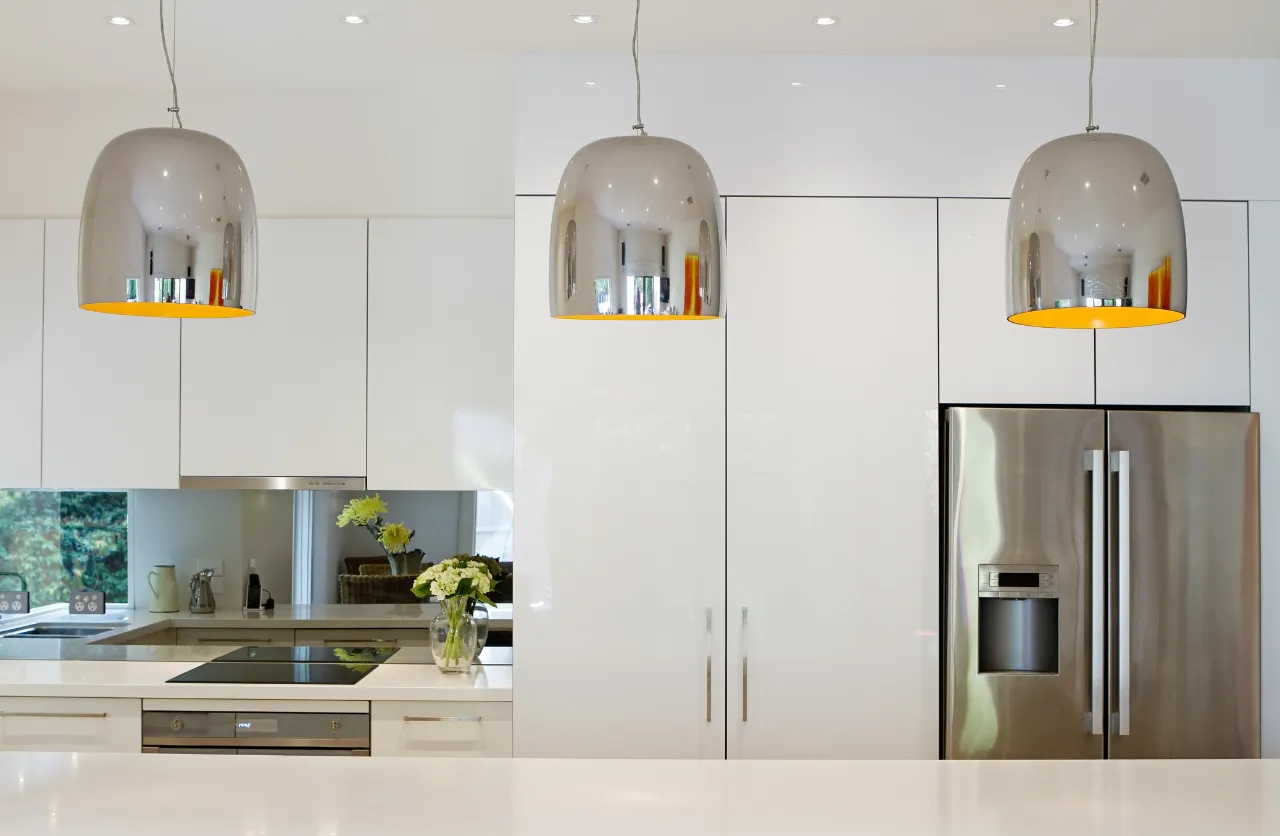
Brightening up a room with a new ceiling light fixture can instantly elevate its aesthetic appeal. As we delve into the world of lighting, this step-by-step guide will provide you with a clear roadmap for the seamless installation of a pendant or chandelier. Follow these five essential stages to bring a touch of radiance to your living space.
Step 1: Safety First
Before embarking on the installation journey, prioritize safety:
- Turn Off Power: Locate the circuit breaker and turn off the power to the lighting fixture you plan to replace or install. Use a voltage tester to ensure the circuit is de-energized.
- Gather Safety Gear: Equip yourself with safety gear such as gloves and safety goggles to protect against potential hazards.
- Secure Ladder or Step Stool: Ensure a stable and secure platform to reach the ceiling, either with a ladder or step stool.
Step 2: Assessing the Space and Choosing the Fixture
Make informed decisions based on your room’s layout and your preferred lighting fixture:
- Measure Ceiling Height: Determine the ideal height for your ceiling light fixture, considering both aesthetic and practical aspects.
- Choose a Suitable Fixture: Select a pendant or chandelier that complements the room’s style and provides the desired level of illumination.
- Verify Fixture Compatibility: Confirm that the chosen fixture is compatible with your ceiling type, whether it’s a standard ceiling, sloped ceiling, or vaulted ceiling.
Step 3: Assembling the Fixture
Before hanging your new fixture, assemble its components:
- Read Manufacturer Instructions: Thoroughly review the provided instructions to understand the assembly process and any specific requirements.
- Assemble the Fixture: Follow the step-by-step instructions to assemble the pendant or chandelier, ensuring all parts are securely connected.
- Prepare Mounting Hardware: Arrange the mounting hardware and tools needed for the installation, as specified in the manufacturer’s instructions.
Step 4: Mounting the Fixture
Now it’s time to affix your lighting fixture to the ceiling:
- Locate Ceiling Joist: Use a stud finder to locate the ceiling joist, ensuring a secure attachment point for the fixture.
- Install Mounting Bracket: Secure the mounting bracket to the ceiling using appropriate screws, aligning it with the ceiling joist for stability.
- Connect Wiring: Connect the wiring from the fixture to the corresponding wires in the electrical box, following color-coded instructions. Secure connections with wire nuts.
Step 5: Final Adjustments and Testing
Complete the installation with attention to detail:
- Adjust Fixture Height: Fine-tune the height of the fixture to achieve the desired aesthetic and lighting distribution.
- Attach Canopy and Finishing Touches: Affix the canopy or decorative plate to conceal wiring and provide a finished look.
- Turn On Power and Test: Restore power at the circuit breaker and test the newly installed ceiling light fixture to ensure proper functionality.
Conclusion:
Congratulations! By following these five straightforward stages, you’ve successfully installed a ceiling light fixture, adding a touch of brilliance to your living space. As you bask in the glow of your newly installed pendant or chandelier, remember that safety and attention to detail are key throughout the installation process. If ever uncertain, consulting with a professional electrician can ensure a flawless outcome. Enjoy your beautifully illuminated space!
