Introduction:
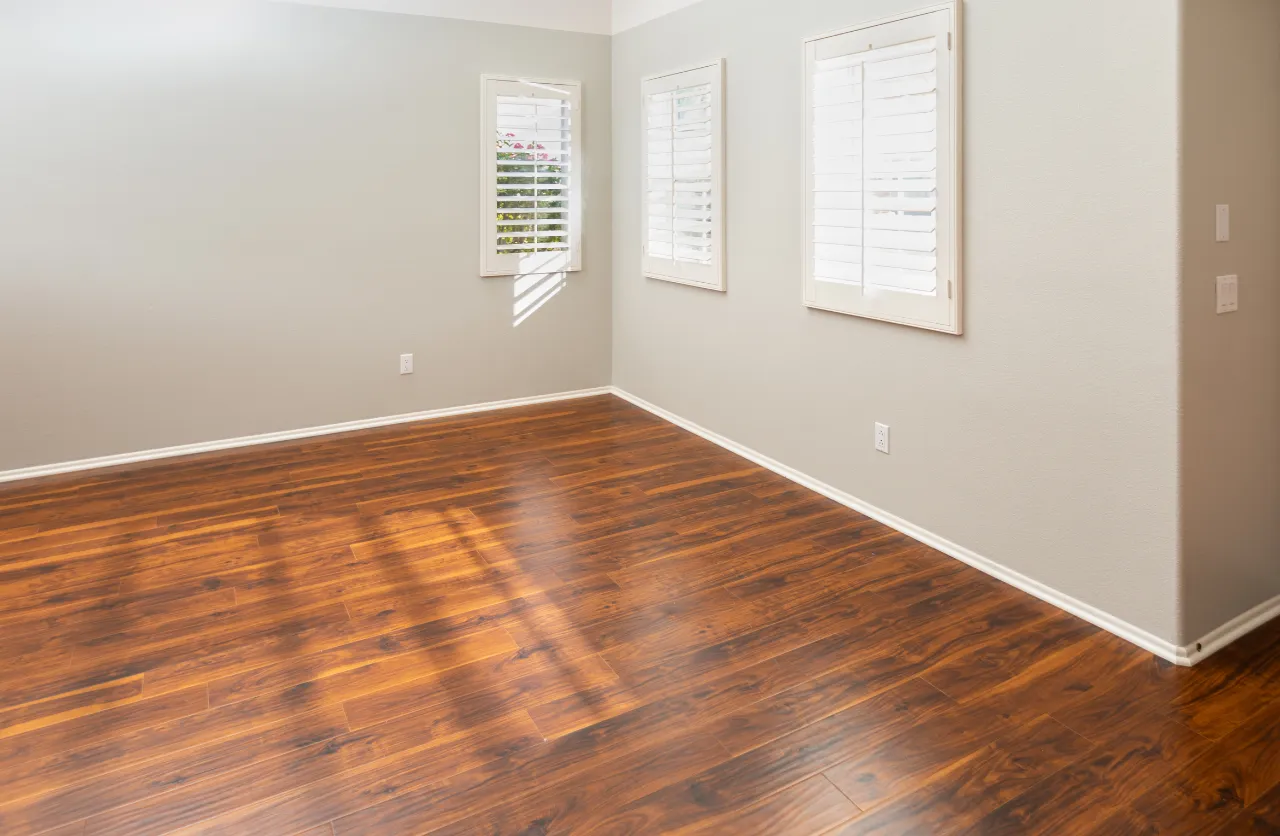
Upgrading your living space with laminate flooring not only enhances aesthetics but also adds durability and easy maintenance. As we embark on the journey of laminate flooring installation, this comprehensive guide will walk you through five essential stages. With a bit of planning and precision, you can achieve a stunning and resilient floor that transforms your home.
Step 1: Pre-Installation Preparation
Before diving into the installation process, ensure a solid foundation:
- Acclimate the Laminate: Allow the laminate flooring to acclimate to the room’s temperature and humidity for at least 48 hours before installation.
- Assess Subfloor Condition: Ensure the subfloor is clean, level, and dry. Repair any imperfections, and use a moisture meter to check for excessive moisture.
- Gather Tools and Materials: Equip yourself with essential tools like a tape measure, spacers, tapping block, pull bar, and a saw for precise plank cutting.
Step 2: Planning and Layout
Create a blueprint for a visually appealing and functional floor:
- Choose Installation Direction: Decide on the direction in which you want to lay the laminate planks, usually following the longest wall for an aesthetically pleasing result.
- Plan for Transitions: Consider doorways and transitions to other flooring types. Use transition strips for a smooth and polished finish.
- Allow for Expansion Gaps: Leave a 1/4-inch expansion gap around the perimeter of the room to accommodate potential expansion and contraction.
Step 3: Installation of Underlayment
A proper underlayment ensures comfort and noise reduction:
- Lay Underlayment Material: Unroll and install the underlayment material, securing seams with tape. Trim excess material along the walls.
- Tape Seams: Secure the underlayment seams with masking or duct tape, creating a uniform and supportive surface.
Step 4: Plank Installation
Bring your laminate flooring to life with precise plank placement:
- Begin in a Corner: Start laying the first plank in a corner of the room, placing spacers against the walls to maintain the expansion gap.
- Interlock Planks: Click or lock the laminate planks together, ensuring a snug fit. Use a tapping block and pull bar for challenging areas.
- Stagger Plank Rows: Stagger the end joints of consecutive rows by at least 8 inches for a natural and visually appealing look.
Step 5: Finishing Touches and Inspection
Complete the installation with care and attention to detail:
- Trim Door Casings: Use a handsaw or jamb saw to trim door casings, allowing the laminate to fit seamlessly underneath.
- Install Baseboards and Transitions: Attach baseboards around the perimeter and install transition strips where the laminate meets other flooring types.
- Inspect and Clean: Carefully inspect the entire floor for gaps or imperfections. Clean the laminate surface with a recommended cleaner for a polished finish.
Conclusion:
Congratulations! You’ve successfully installed laminate flooring, creating a stylish and durable foundation for your living space. As you enjoy the beauty of your newly laid floor, remember that meticulous planning and precision are key throughout the installation process. If you ever feel uncertain, seeking guidance from flooring professionals ensures a flawless result. Enjoy your revamped and resilient living space!
