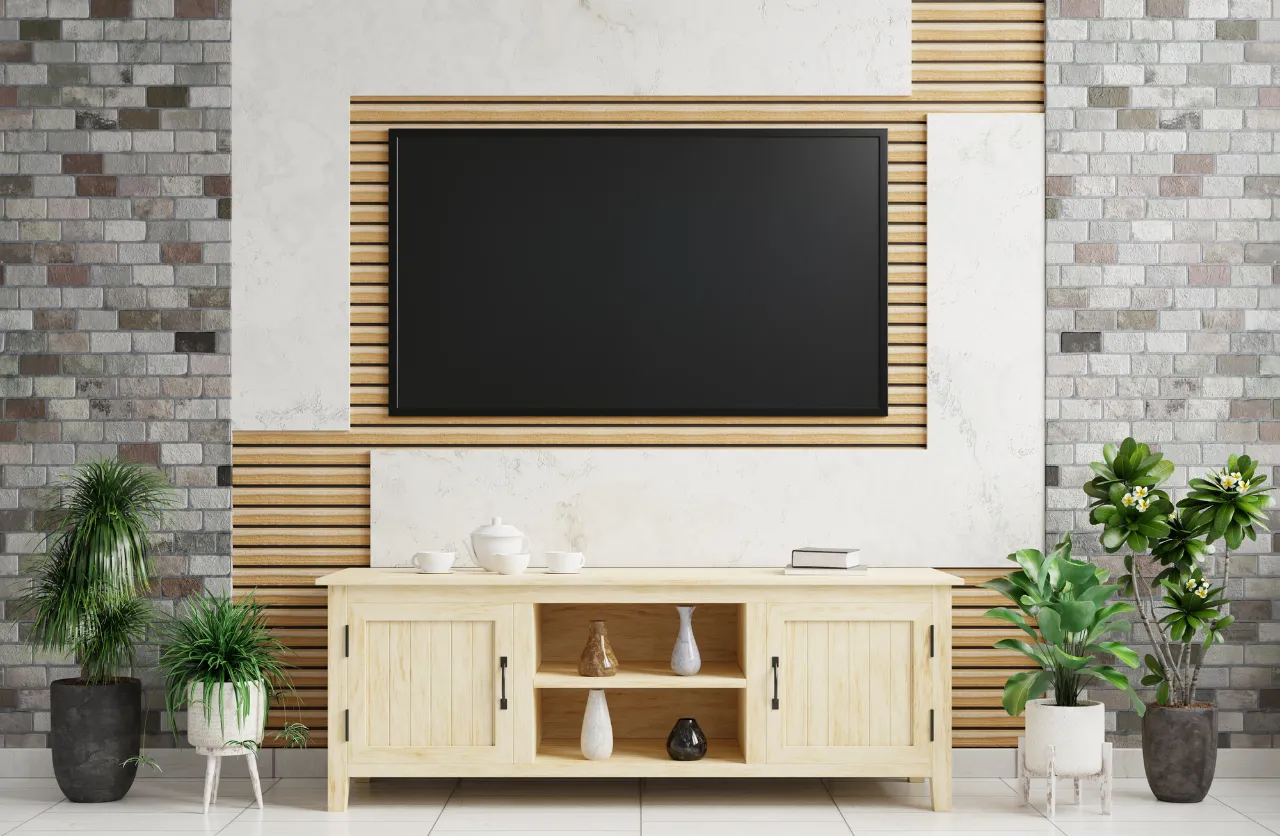
The television is an essential part of the living space where people relax and spend time with friends and families. Therefore, it is important that its installation is reliable, comfortable and properly installed. The TV should be clearly at eye level so that you don’t have to turn your head and nothing hurts after hours of watching. Let’s see how to do the installation step by step.
Tools and parts for wall installation
Different fasteners for different wall materials. Nylon dowels and metal anchors are suitable for brick and concrete walls. For wooden walls, it is necessary to use self-tapping wood screws. Very careful fasteners are required for soft walls. The set of tools is as follows:
- TV bracket;
- Selected fasteners;
- Painter’s tape;
- Screwdriver;
- Wrenches;
- Drill, punch;
- Drill, hammer;
- Level;
- Roulette;
- Pencil.
Assemble the guide ways on the equipment
If it has a stand on it, then you should remove it by unscrewing it. Start installing the bracket on the equipment from the back side. The rails are more often screwed through plastic or metal barrels. The screws should be a clear size to fit. When you contact our company, you can purchase the optimal wall mounts from our experts, this will save you time on going to the store or waiting for delivery.
Marking on the wall
Place this structure that you have assembled on the wall and make the necessary marks with a pencil. It is best to have another person with you to hold it while you choose the optimal height. At this stage, it is important to choose the optimal height to avoid possible viewing discomfort, for example in the neck area.
Our specialists recommend hanging TVs with a diagonal of over 65″ only on the Stad, taking into account not only the considerable weight of TV sets of these sizes, but also the potential seismic activity in the region. Take a level and draw a level line and mark the holes you will make. It is better to draw this on painter’s tape so as not to stain the wall. Make sure that there are no wires from the socket in that place, you can use a wire detector for accurate results.
Drilling holes in the wall
The drill bit must perfectly match the parameters of the fastener you have chosen. After that, make holes of the required amount with the desired depth. Follow the depth very carefully. Try it on and make sure that you have made the correct hole with the right depth and diameter.
Fixing the fasteners to the wall
If there are special holes, then take dowels and hammer them in with a hammer. Once the structure is in place, start tightening the screws with a screwdriver or wrench, whichever you have. In the beginning, it is best to tighten the screws in the middle so that the base of the structure will hold. Next, level the sides with a level and also securely fasten. When installing TVs by our specialists, the warranty for installation is — 6 months.
Connecting the wires
Before placing the TV on the ready-made mount, connect all the necessary wires. As it will be much more difficult to connect everything correctly later and will take much more time and nerves. The most important are cables with Internet, HDMI, antenna wires and much more. If you do not know where to properly connect the wires, then, find the instructions on the Internet in free access.
Mounting the device on the fixture
Take the device in your hands and attach it to the fastener. Be sure to securely fasten it afterward so that it does not accidentally fall down. There are special snaps or screw in two fixing screws for safety. Locations in which our specialists work: Huntington Beach, Orange County, Santa Ana, Long Beach, Newport Beach, Anaheim, Irvine, Yarba Linda, Laguna Woods, Laguna Nigel, Mission Viejo, Lake Forest, Tustin.
