Introduction:
Drywall, also known as gypsum board or plasterboard, is a fundamental building material in modern construction. Whether you’re planning a DIY project or renovating a room, understanding the process of installing drywall is essential. In this article, we’ll walk you through the five key stages of installing drywall, enabling you to transform your space with this versatile material.
Step 1: Preparation
Before you dive into installing drywall, it’s crucial to prepare the space and gather the necessary tools and materials:
- Measure and Plan: Measure the dimensions of the area where you intend to install drywall and plan the number of sheets required.
- Safety Gear: Equip yourself with safety gear, including goggles, gloves, and a dust mask.
- Tools and Materials: Gather tools such as a utility knife, drywall screws, a drywall saw, a T-square, and joint compound.
- Surface Inspection: Inspect the wall or ceiling surface for any damage or irregularities. Address any issues such as cracks or uneven framing.
Step 2: Cutting and Fitting
Once you’re prepared, it’s time to cut and fit the drywall sheets:
- Measure and Cut: Measure the dimensions needed for the drywall sheets and use a T-square and utility knife to cut the sheets to size.
- Fitting and Fastening: Fit the drywall sheets against the wall or ceiling, ensuring a snug fit. Secure the drywall to the framing with drywall screws.
- Seams and Joints: Leave a small gap, about 1/8 inch, between sheets for expansion and contraction. Pay special attention to corners and edges, where joints will be formed.
Step 3: Taping and Mudding
Taping and mudding are essential for achieving a smooth and seamless surface:
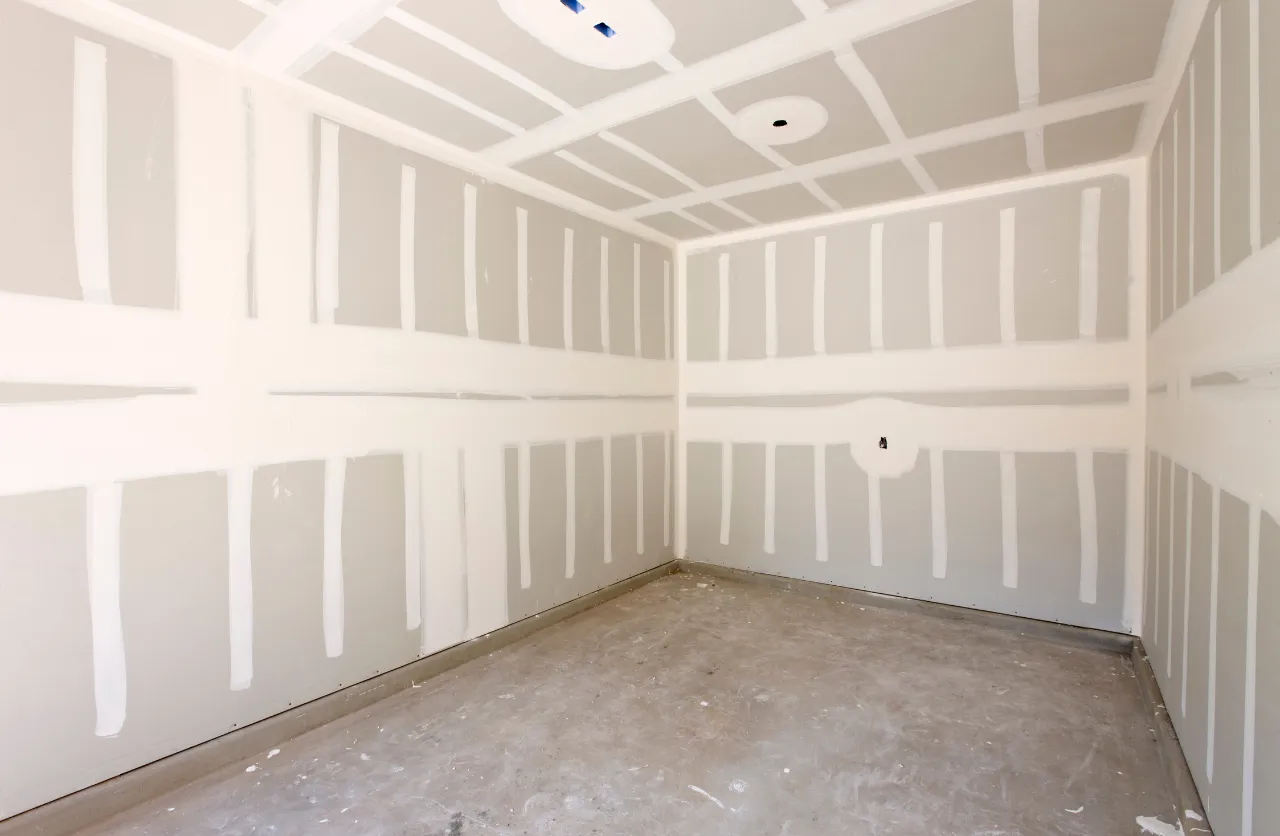
- Apply Tape: Use drywall tape to cover the seams between the sheets. Embed the tape in a layer of joint compound using a taping knife.
- First Coat: Apply a first coat of joint compound over the tape and smooth it out with a drywall knife. Let it dry completely.
- Second and Third Coats: Apply a second and third coat of joint compound, feathering the edges and sanding in between coats. This creates a gradual transition for a smooth finish.
Step 4: Sanding and Finishing
To achieve a flawless surface, sanding and finishing are necessary:
- Sanding: Once the final coat of joint compound is dry, sand the entire surface to create a smooth and even texture.
- Edge Treatment: Pay special attention to edges and corners, ensuring they are well-blended and seamless.
Step 5: Priming and Painting
The final stage involves priming and painting the drywall:
- Apply Primer: Apply a coat of primer to the drywall surface to seal and prepare it for paint.
- Painting: After the primer is dry, apply your desired paint to achieve the look you want.
Conclusion:
Installing drywall is a crucial part of interior construction and renovation projects. By following these five stages, you can master the process and transform your space with this versatile building material. Whether you’re patching a wall or finishing an entire room, understanding the art of drywall installation is a valuable skill in the world of home improvement.
