Introduction:
Painting your walls can be a transformative and creative endeavor, giving your living space a fresh and personalized look. In this article, we’ll explore the five key stages of wall painting, from preparation to finishing touches. Whether you’re a seasoned painter or a beginner, these steps will help you achieve a professional and polished result.
Step 1: Preparation
The first stage of wall painting is all about preparation:
- Clear the Space: Remove furniture, decorations, and any other items that could obstruct your painting. Cover the remaining furniture and floors with drop cloths or plastic sheets to protect them from paint splatters.
- Repair and Clean: Inspect the walls for any holes, cracks, or imperfections. Patch these areas with spackling compound, and sand them smooth once dry. Wipe the walls clean of dust and dirt, using a damp cloth if necessary.
- Tape and Masking: Use painter’s tape to mask off areas you don’t want to paint, such as baseboards, trim, and windows. Be precise in your taping for clean, straight lines.
Step 2: Priming
Primers create a smooth and even surface, enhancing paint adhesion and preventing previous wall colors from bleeding through. Here’s what to do:
- Choose the Right Primer: Select a primer that suits your project, such as a latex primer for latex paint or an oil-based primer for oil-based paint.
- Apply the Primer: Using a roller or brush, apply a thin, even coat of primer to the walls. Allow it to dry completely, usually within a few hours.
Step 3: Painting
Now, it’s time to apply the paint:
- Choose the Paint: Select your preferred paint color and finish. Mix the paint thoroughly before starting.
- Cut In: Use a brush to paint the edges and corners of the walls where a roller can’t reach. This is called «cutting in» and helps create clean lines.
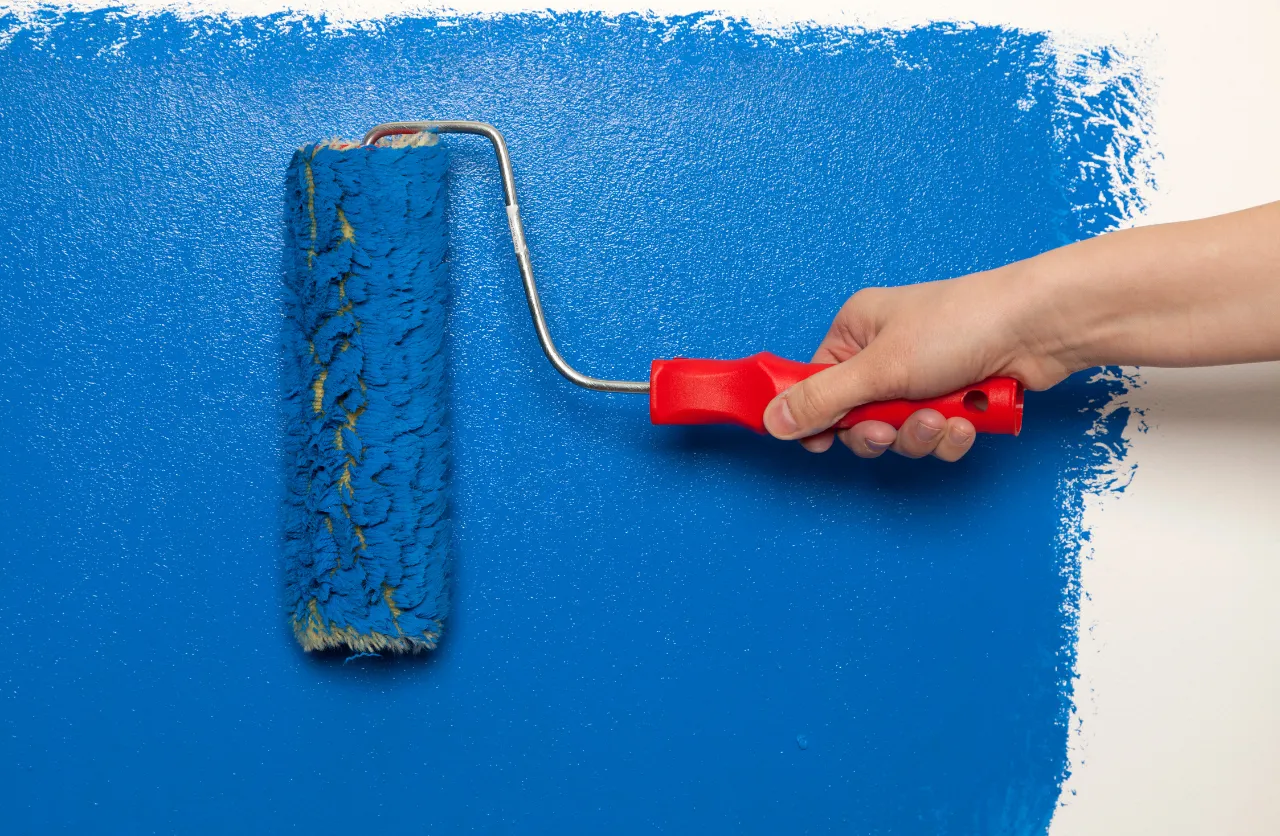
- Roll the Walls: With a roller, apply paint in «W» or «M» patterns. Start in a corner and work your way across the wall, overlapping the edges for even coverage.
- Multiple Coats: Allow the first coat to dry according to the paint manufacturer’s instructions. Apply a second coat for more vibrant and even color.
Step 4: Cleanup
Proper cleanup is essential for maintaining your painting tools and keeping your space tidy:
- Clean Brushes and Rollers: Thoroughly clean paintbrushes and rollers with warm soapy water or an appropriate paint thinner, depending on the type of paint used.
- Remove Painter’s Tape: Carefully remove the painter’s tape while the paint is still slightly damp to prevent peeling.
- Dispose of Materials: Dispose of used paint cans and other materials according to your local regulations.
Step 5: Finishing Touches
The final stage involves inspecting your work and adding any finishing touches:
- Touch-Up: Examine the walls for missed spots, streaks, or imperfections, and touch up as needed.
- Replace Fixtures: Reattach fixtures, hardware, and decorations that were removed earlier.
- Enjoy Your Newly Painted Space: Step back, admire your work, and enjoy your refreshed and revitalized living space.
Conclusion:
Painting your walls is a creative and rewarding project that can transform the look and feel of your home. By following these five stages, you can ensure a professional and polished result that reflects your personal style and creativity. Whether you’re painting a single room or your entire home, these steps will guide you to a successful wall painting project.
