Introduction:
Introducing glass shower doors can instantly elevate the aesthetic and functionality of your bathroom. In this comprehensive guide, we’ll walk through the five crucial stages of installing glass shower doors. With careful planning and attention to detail, you can create a stylish and inviting shower space that enhances the overall appeal of your bathroom.
Step 1: Measurement and Design
The first step in the installation process involves precise measurements and thoughtful design considerations:
- Measure Shower Opening: Accurately measure the width and height of the shower opening to determine the appropriate size for your glass doors.
- Choose Door Type: Select the type of glass shower doors that best suit your preferences and bathroom layout, whether it’s a sliding, pivot, or hinged door.
- Design Considerations: Consider factors such as the style of the bathroom, the location of fixtures, and the overall aesthetic you want to achieve with the glass doors.
Step 2: Gather Tools and Materials
Prepare for the installation by gathering the necessary tools and materials:
- Tools: Ensure you have tools such as a level, drill, screwdriver, tape measure, and a glass cutter if adjustments are needed.
- Materials: Acquire the glass shower door kit, including the glass panels, hardware (handles, hinges, etc.), and any additional components specified in the kit.
- Safety Gear: Prioritize safety by wearing gloves and safety goggles, especially when handling glass panels.
Step 3: Pre-Installation Preparation
Prepare the shower area for the installation:
- Clean the Shower Area: Ensure the shower area is clean and free of any soap scum or residue that might affect the installation.
- Check Wall Condition: Examine the walls for any irregularities or damage that may impact the installation. Make necessary repairs or adjustments.
- Verify Leveling: Confirm that the shower curb or threshold is level to ensure proper alignment of the glass doors.
Step 4: Installation of Glass Doors
Install the glass doors according to the manufacturer’s instructions:
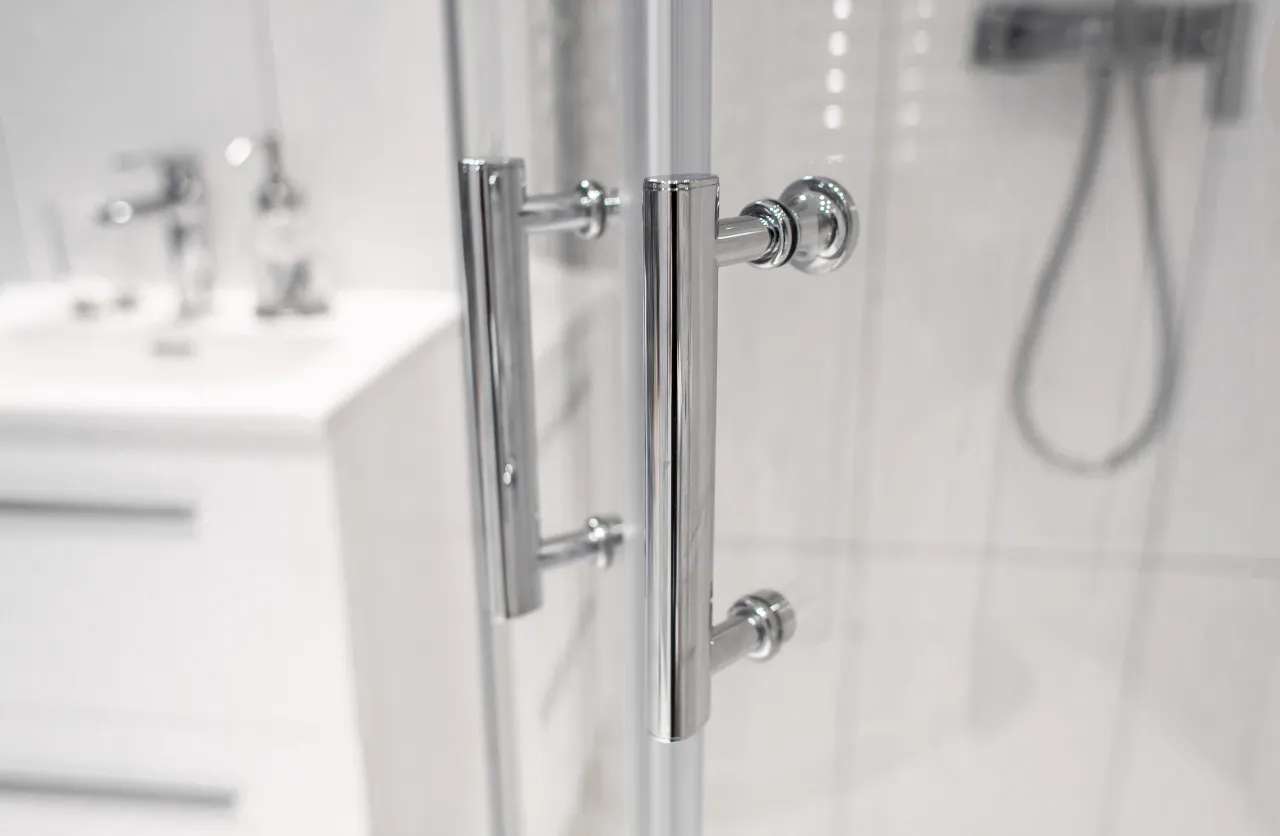
- Mount Hardware: Attach the hinges, handles, and any other hardware to the glass doors as per the provided instructions.
- Secure Bottom Track: If applicable, secure the bottom track to the shower curb or threshold, ensuring it is level and securely anchored.
- Hang Glass Panels: With the help of a second person, hang the glass panels onto the installed hardware, ensuring they are properly aligned and securely attached.
Step 5: Final Adjustments and Sealing
Complete the installation with final adjustments and proper sealing:
- Adjust Door Alignment: Fine-tune the alignment of the glass doors to ensure they open and close smoothly.
- Apply Sealant: Apply a high-quality sealant around the edges of the glass panels and where they meet the shower walls to prevent water leakage.
- Test Operation: Open and close the glass doors to test their functionality. Check for any gaps or issues that may require further adjustment.
Conclusion:
Congratulations on successfully installing your glass shower doors! By following these five stages, you’ve not only added a touch of sophistication to your bathroom but also created a functional and aesthetically pleasing shower space. If you encounter challenges beyond your expertise during the installation, consider consulting a professional for assistance. Enjoy the clarity and elegance that glass shower doors bring to your bathroom.
